-40%
Anna Griffin Treasury of Cards & Layers AND Treasury Stamps & Dies in Binder!
$ 60.71
- Description
- Size Guide
Description
What is included in this listing1 Grace Black Rose patterned 3 ring binder
4 - 3 hole punched plastic pockets
4 magnet sheets with specific places for each die
70 Anna Griffin dies (each with a shadow layer, included in that number)
Approximately 108 stamps that match back to the dies - 8 sets of stamps
Stamp & cut instruction sheet
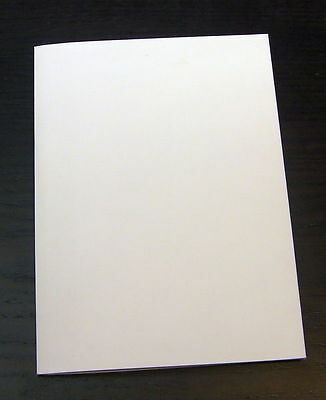
35 Treasury Card Bases
35 Square Layers
35 Envelopes
16 Alternate Labels
The stamps & dies encompass celebrations, holidays, icons like clover, acorns, hearts, butterflies & flowers, wicker chairs & trees, balloons & champagne bottles. The sentiments are wide-ranging and interchangeable within frames from sympathy and encouragement to congratulations and wedding blessings, for every type of relative and friend.
The stamps are cling acrylic, made to adhere to an acrylic stamp block or stamping platform. Instructions say to stamp first, then cut.
To make sure you’re in the correct position every time you cut, make a stencil first (cut the image from a slightly larger piece of card stock. Put aside the cut image, use the paper with the cutout). Stamp the image where you’d like and position the stencil over the stamped image using it to position the die which will kind of click into place when it’s in the right position.
I leave the stencil in place and use removable tape to hold down the die while I run it through my machine. Perfect!


